Working with Screen Painter
By Vikram Chellappa, Mouri Tech Solutions
SCREEN PAINTER:-
Screen painter is a tool in ABAP dev workbench used to create the screens using the
T-code SE51. In the screen painter, you can define the following interface elements with their associated attributes.
1. Input/Output Fields
2. Field Names
3. Checkboxes
4. Radio Buttons
5. Group Boxes
6. Sub screens.
7. Pushbuttons with No Fixed Position
and others
STEP-BY-STEP DEMO FOR SCREEN PAINTER.
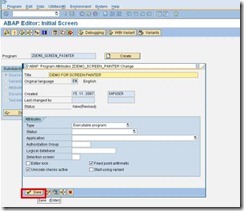
Create a Z program in SE38.
Click on Save. We will write the code later in this.
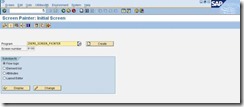
Go to transaction SE51.
Enter the created program name and screen number.
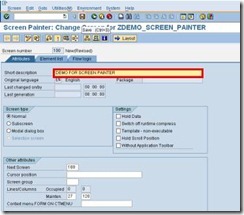
Enter the short description and click on save.
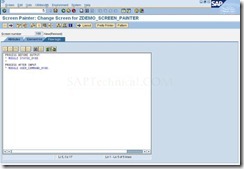
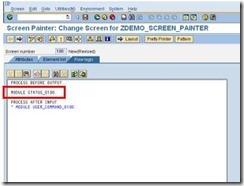
Click on flowlogic tab.
Uncomment the statement “ MODULE STATUS_0100 “.
Double click the “ status_0100.”
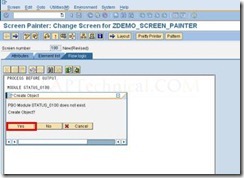
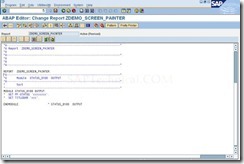
The below screen will be displayed,
Click on yes.
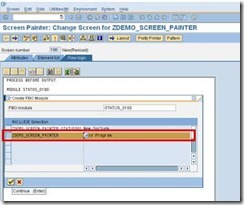
Following pop-up screen appears. Select the “zdemo_screen_painter” “main program” and click on continue.
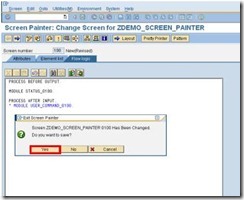
Click on yes.
Screen would be displayed as follows:
Now come back to the transaction SE51. Select flow logic. Click in layout.
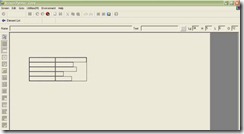
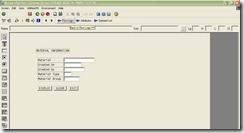
Screen painter window will be displayed like this. Here we will design the required screen fields.
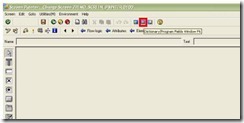
Click on the middle icon ![]() dictionary / program fields window. Or F6.
dictionary / program fields window. Or F6.
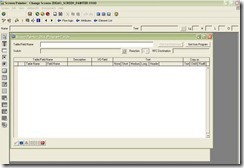
Following screen appears:
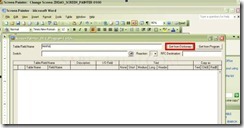
Enter the table name in the table field name.
Click on get from dictionary.
Select the required fields from MARA table from dictionary. Click on OK or continue.
After placing the required fields, you can view the below screen.
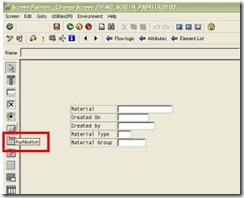
Create the push button from the toolbox.
Select the pushbutton, drag and drop the button onto the screen.
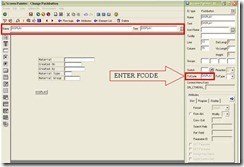
Create the other required buttons in the same procedure mentioned above and assign the name, text, and function code for each one.
After creating the screen click on save check and activate.
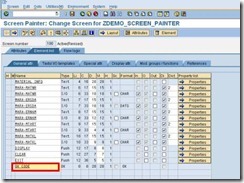
Click on tab Element List enter OK_CODE.
Paste the below Code in created z program created earlier:
*&-------------------------------------------------------------------*
*& Report ZDEMO_SCREEN_PAINTER
*&
*&-------------------------------------------------------------------*
*& Demo for Screen Painter.
*& By Vikramchellappa.
*&-------------------------------------------------------------------*
REPORT ZDEMO_SCREEN_PAINTER.
******************************************************************
* TABLE DECLARATIONS.
******************************************************************
TABLES: MARA.
******************************************************************
* DATA DECLARATIONS.
*****************************************************************
DATA: MATNR TYPE MARA-MATNR,
ERSDA TYPE MARA-ERSDA,
ERNAM TYPE MARA-ERNAM,
MTART TYPE MARA-MTART,
MATKL TYPE MARA-MATKL,
DISPLAY TYPE C,
SAVE TYPE C,
DELETE TYPE C,
CLEAR TYPE C,
EXIT TYPE C,
OK_CODE LIKE SY-UCOMM.
*****************************************************************
* CALLING SCREEN.
*****************************************************************
CALL SCREEN 100.
*&--------------------------------------------------------------*
*& Module STATUS_0100 OUTPUT
*&--------------------------------------------------------------*
* text
*--------------------------------------------------------------*
MODULE STATUS_0100 OUTPUT.
* SET PF-STATUS 'ZMENU'.
* SET TITLEBAR 'ZMENU_PAINTER'.
CASE SY-UCOMM.
WHEN 'EXIT'.
LEAVE PROGRAM.
WHEN 'BACK'.
LEAVE PROGRAM.
WHEN 'DISPLAY'.
SELECT SINGLE ERSDA ERNAM MTART MATKL FROM MARA
INTO (MARA-ERSDA, MARA-ERNAM, MARA-MTART, MARA-MATKL)
WHERE MATNR = MARA-MATNR.
WHEN 'CLEAR'.
CLEAR MARA.
ENDCASE.
ENDMODULE. " STATUS_0100 OUTPUT
Output:-
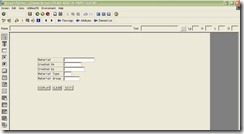
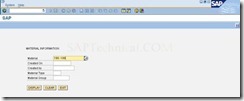
Enter Material number On Material Field. Click on Display.
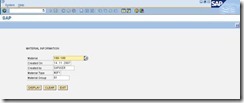
Material Information is displayed as shown below:
