在Visual Studio 2010中, 已经集成了用于SharePoint开发的feature,通过它,我们方便快速的开发部署web part、内容类型、列表、工作流 、BDC等,基本上包含了在SharePoint中所有的开发项目。在这篇文章中,向大家介绍一下如果使用它来快速开发和部署Web Part。
我使用的是Visual Studio 2010 Ultimate Beta 2版本。
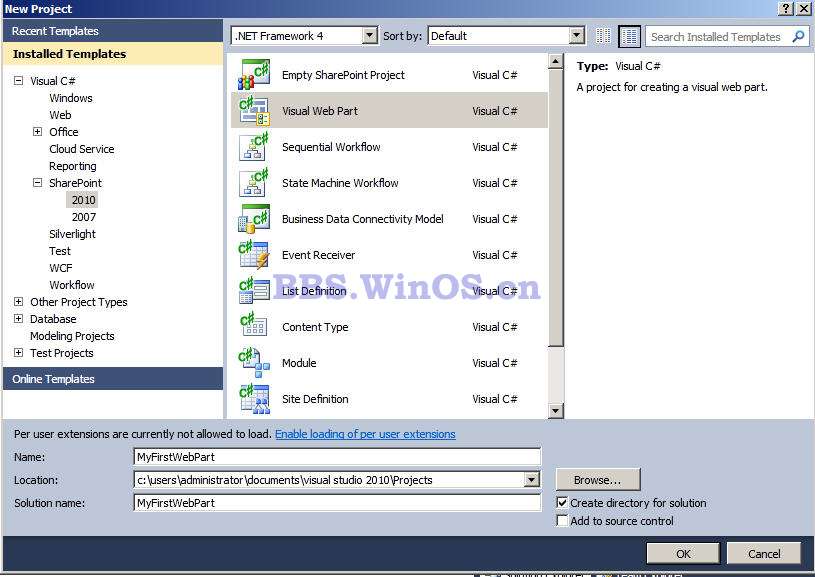
新建一个项目,使用SharePoint 2010下的Visual Web Part模板,如图:
接着,会弹出选择部署站点的窗口,输入站点地址,完成:\

看一下解决方案中默认生成的项目: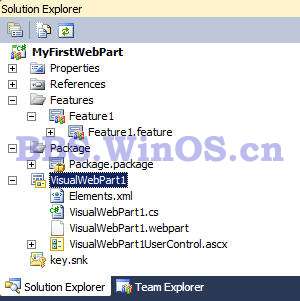
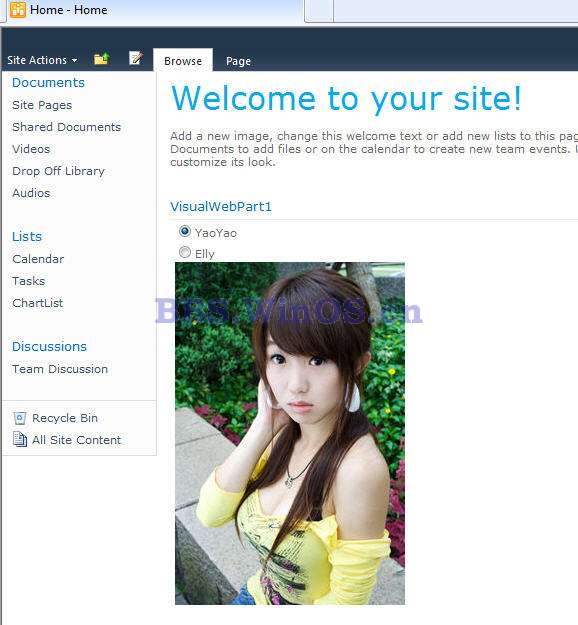
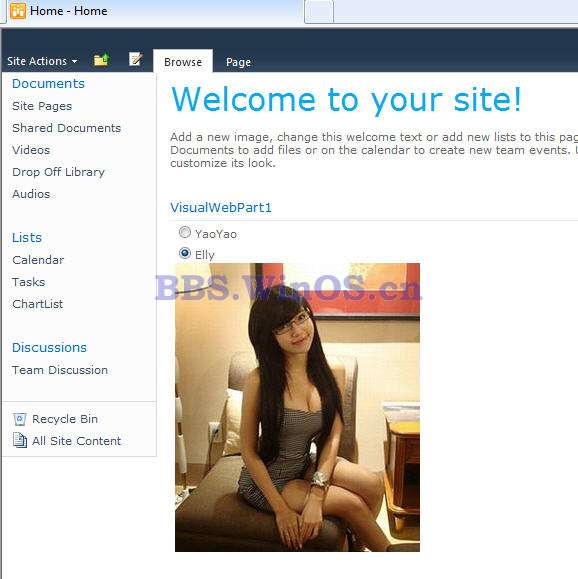
我们来做一个非常简单web part,页面上放两个单选按钮,一个叫yaoyao,一个叫Elly,点击在图片控件中切换这俩妞的照片,而照片存放在SharePoint站点Layouts下Images文件夹中,注意,我们是通过Visual Studio2010来上传上去,嘿,这是照片,随便在网上找的两张,太火了~


首先,我们在VisualWebPart1UserControl.ascx中添加需要的控件,RadioButtonList和Image,并添加两条item,如下:
<asp:RadioButtonList ID="RadioButtonList1" runat="server" AutoPostBack="True"
onselectedindexchanged="RadioButtonList1_SelectedIndexChanged">
<asp:ListItem>YaoYao</asp:ListItem>
<asp:ListItem>Elly</asp:ListItem>
</asp:RadioButtonList>
<asp:Image ID="imgBeauty" runat="server" />
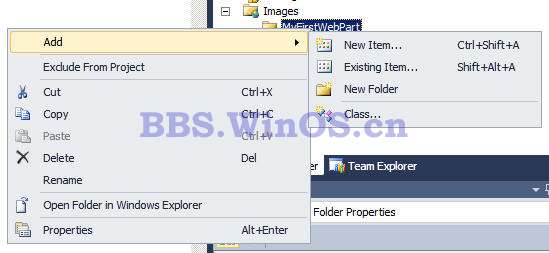
然后,通过Visual Studio 2010向SharePoint 2010上传图片,右键点击项目,添加,SharePoint “Images” Mapped Folder,如图:

然后,将照片添加到这个文件夹中,添加—添加现有项:
我们再来简单的写一些后台处理代码,在RadioButtonList1_SelectedIndexChanged 事件中:
 代码
代码

{
public partial class VisualWebPart1UserControl : UserControl
{
protected void Page_Load(object sender, EventArgs e)
{
}
protected void RadioButtonList1_SelectedIndexChanged(object sender, EventArgs e)
{
if (this.RadioButtonList1.SelectedItem.Text == "YaoYao")
{
this.imgBeauty.ImageUrl = @"_layouts/Images/myfirstwebpart/chinayaoyao.jpg";
}
else
{
this.imgBeauty.ImageUrl = @"_layouts/Images/myfirstwebpart/Elly.jpg";
}
}
}
}
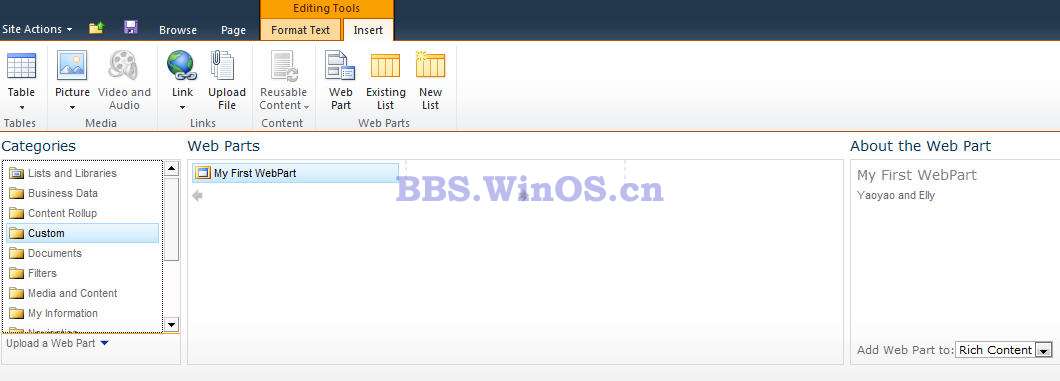
我们的web part就算完成了,修改一下这个web part的名字和描述,然后把它发布到站点上,
点击VisualWebPart1.webpart文件,修改对应的名字和描述:
<data>
<properties>
<property name="Title" type="string">My First WebPart</property>
<property name="Description" type="string">Yaoyao and Elly</property>
</properties>
</data>
发布,右键点击项目,发布,就这么简单: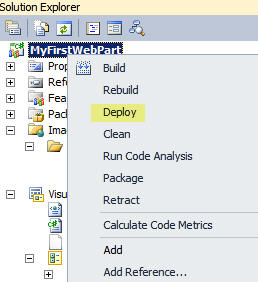
把web part部署到页面上,这个过程大家应该很熟悉了,前几篇文章中已经介绍,这儿不在赘述,自定义开发的web part在custom中,可以看到我们刚才命名和描述的web part.
好了,再来欣赏下我们的美女,点击YaoYao,点击Elly,再点,再点,再点。。。。。。。