Qt Stylesheets Tutorial
September 10th, 2009
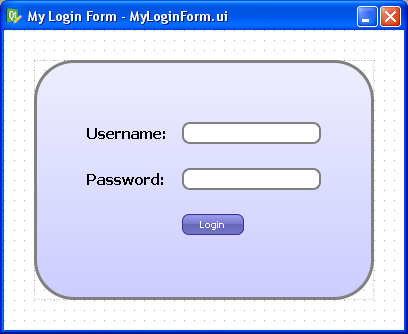
![]() Stylesheets add spicy flavor to your boring Qt GUIs.
Stylesheets add spicy flavor to your boring Qt GUIs.
For a long time, Qt has allowed you to decorate your GUIs with CSS’ish style sheets. Inspired by the web, stylesheets are a great way to stylize your Qt GUI, but it seems that few people use them. In this tutorial, we’ll create an example dialog in Qt using
Designer and stylesheets. This tutorial assumes that you can get around in Qt Designer, and that you understand a little about Qt layouts.
Step 1 Create a new empty form, named MyLoginForm.
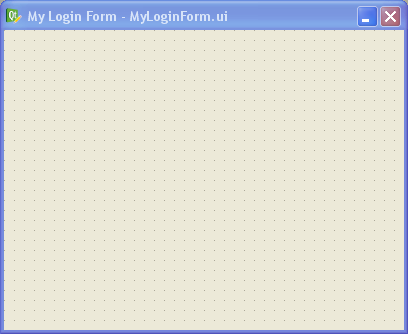
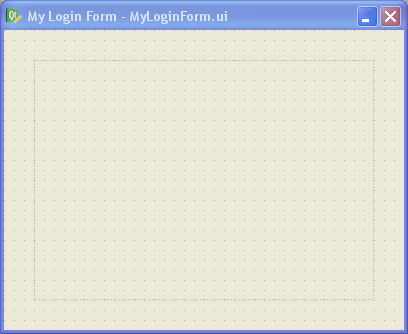
Step 2 Add a QFrame to your form, and apply a vertical layout to your form (any layout will work actually: vertical, horizontal or grid). Give your form about 30 pixels of layout margin around its perimeter. Name the QFrame “mainFrame”.
When dealing with stylesheets, it’s convenient to name your widgets in Designer, even if you don’t plan to use them by name in your code (we won’t be writing any code besides CSS in this tutorial).
Step 3 In Designer’s object inspector, right-click on the top-level entry in the tree (called “MyLoginForm”), and select “Change styleSheet…” from the menu. You’ll get a little editor dialog like this:
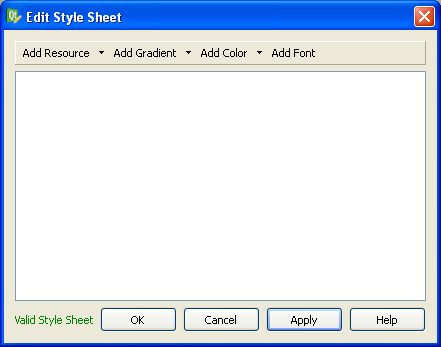
This is where we specify the style sheet for our form. You can put a style sheet on any widget in your form, but I prefer to do all my stylizing at the parent widget (“MyLoginForm” in this case). I prefer to do it this way because you’ll never have to go
hunting to find your style sheet — it’s all in one place in your form. Since stylesheets cascade down to the child widgets, you can stylize any widget in your form from this point.
Let’s type in some CSS into the style sheet editor, like this:
#MyLoginForm {

background: gray;

}
#mainFrame {

border: 3px solid gray;

border-radius: 40px;

background: white;

}
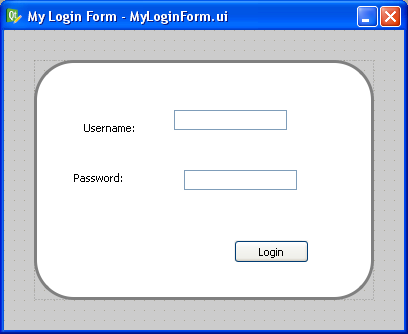
After clicking OK on the editor dialog, you should see this:
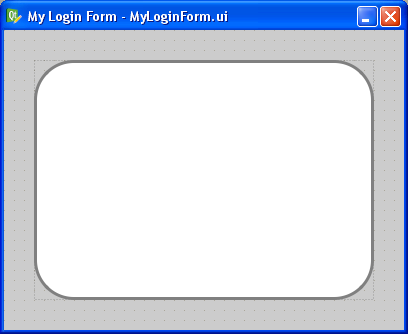
If your’s doesn’t look like this, you may have forgotten to change the parent widget’s name to “MyLoginForm” or the QFrame’s name to “mainFrame” (yes, capitalization does matter — Qt stylesheets are case sensitive). Or you may have mistyped something into
the CSS dialog.
One cool feature is that you get to preview the style changes right as you make them. You don’t have to compile, save, or run anything. Designer does a very good job of showing your stylesheet changes live (WYSIWYG for you old-timers).
Let me explain what we just did. In CSS, a pound sign, ‘#’, in front of a name is how we stylize an individual widget by that name. In our example,#MyLoginForm identifies the parent widget (i.e., the background area). All we did there is give
it a gray background withbackground: gray;.
For #mainFrame, we gave it a thick gray border, a white background, and rounded corners.
Step 4 Let’s add some widgets to make this dialog actually do something. Drag and drop a pair of QLineEdits, QLabels, and a single QPushButton on the form inside “mainFrame” and arrange them roughly like this:
Step 5 Now apply a grid layout to “mainFrame”. Just select “mainFrame” by clicking on it (taking care not to accidentally select one of the QLineEdits or QLabels instead). Then click the grid layout button in Designer’s toolbar (optionally,
you can go to the menu bar and click “Form” -> “Lay Out in a Grid”, or just press Ctrl+5 for you keyboard hackers).
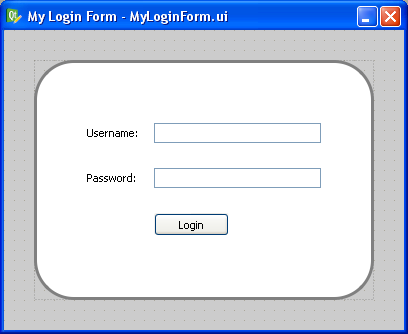
Then give your layout some margin. I used 50 pixels of margin and 15 pixels for both vertical and horizontal spacing.
This is what you should have now:
Step 6 Let’s stylize those boring QPushButton and QLineEdits. Add this to the style sheet for MyLoginForm:
QLineEdit {

padding: 1px;

border-style: solid;

border: 2px solid gray;

border-radius: 8px;

}
QPushButton {

color: white;

background-color: QLinearGradient( x1: 0, y1: 0, x2: 0, y2: 1, stop: 0 #88d, stop: 0.1 #99e, stop: 0.49 #77c, stop: 0.5 #66b, stop: 1 #77c);

border-width: 1px;

border-color: #339;

border-style: solid;

border-radius: 7;

padding: 3px;

font-size: 10px;

padding-left: 5px;

padding-right: 5px;

min-width: 50px;

max-width: 50px;

min-height: 13px;

max-height: 13px;

}
Notice that we didn’t use the pound sign this time. When you omit the pound sign, you are specifying a “class” of widgets to stylize instead of a single widget by name. So in this case, we stylized all widgets of type “QLineEdit” and “QPushButton” (and any
widget that may inherit from those widgets too).
That gives the QPushButton a cool gradient look and rounds the edges of the QLineEdits, like this:
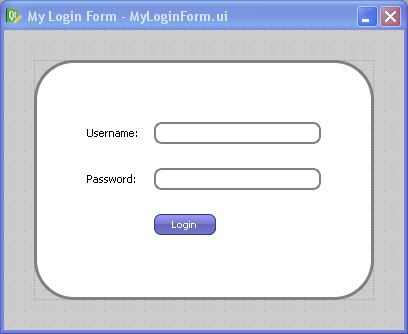
Step 7 Now let’s make that boring white background a gradient instead. Replace the “background: white;” line in the “#mainFrame” section with this instead:
background: QLinearGradient(x1: 0, y1: 0, x2: 0, y2: 1, stop: 0 #eef, stop: 1 #ccf);
Now you should see this:
Step 8 Since stylizing is all about detail and little tweaks, let’s mess a bit with the label font and the background color by changing the background for “#MyLoginForm” to “background: white”, and adding this:
QLabel {

font-weight: bold;

font-size: 15px;

}
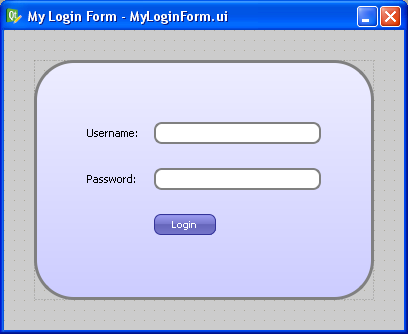
Now we get our finished product:
Isn’t it great how much you can do in Designer with style sheets? There are even things you can do with style sheets that can’t be done without writing lots of yucky C++ code. For example, you can change the border style of just a single side of a QFrame.
Oddities
There is one gotcha to keep in mind when using style sheets: Once you use a style sheet, it will often override other properties, like the “font” property or the “frameStyle” property. Keep this in mind when Designer changes properties you didn’t expect.
The other oddity with style sheets is that there’s no way to “include” external style sheetfiles into your widget’s style sheet. This means that you can’t have a common style sheet that gets applied to your entire application like you can
in the web. I have aQt patch that allows you to do this, but so far the Trolls haven’t done anything with it (to my knowledge). This would be immensely useful.
Cross Platform Note
A style sheet tutorial wouldn’t be complete without a comment on cross-platform issues. The dialog we just designed will look exactly the same on Linux, Windows, and Mac OS X because we stylized it so aggressively. If you want your widgets to look native on
each platform, you should generally use style sheets sparingly, but if your goal is to have a consistent look across all platforms, style sheets are your best friend.
Conclusion
Now that I have discovered the power of style sheets in Qt, I use them whenever possible. What cool things have you done with Qt style sheets?
Qt Stylesheets Button Bar Tutorial
September 17th, 2009
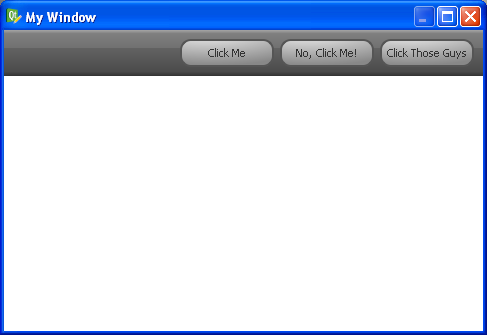
To demonstrate the awesomeness of Qt’s stylesheets, we’ll make a modern looking button bar (inspired by Qt Creator) that looks like this:
Let’s get started
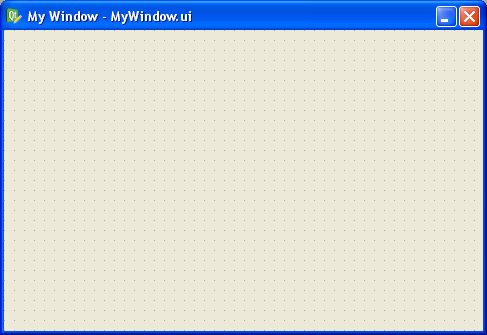
Step 1 Open Designer and create a new empty widget:
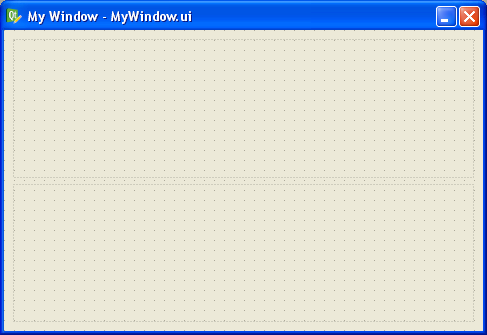
Step 2 Toss a couple QFrames on the widget, one above the other. Name them
topFrame and bottomFrame, like this:

Step 3 Apply a vertical layout to your widget (just click on the background area and then click the vertical layout button in Designer’s toolbar. It should look like this now:
Step 4 Drag and drop a few buttons and a horizontal spacer onto the frame you called “topFrame” (don’t forget to name it if you haven’t already)
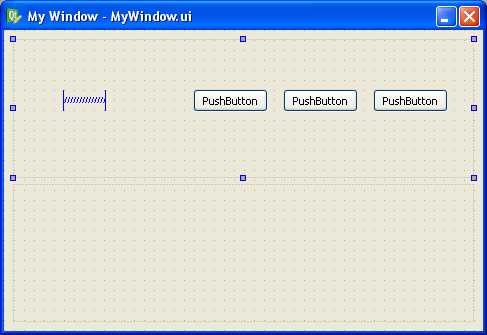
Step 5 Apply a horizontal layout to the “topFrame”
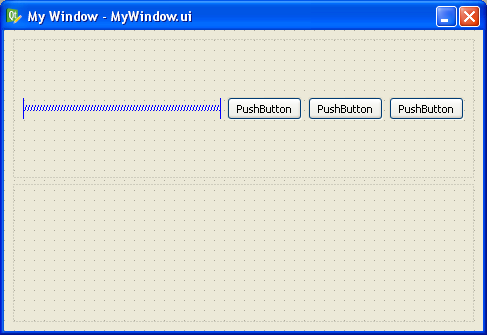
Step 6 Set the vertical size policy for the “topFrame” to “Fixed”. This makes it shrink to a minimum size and lets the bottom frame grow to fill the rest of the widget.

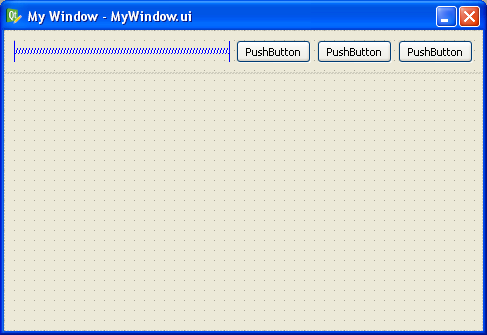
Step 7 Set your margins and spacings to 0 (do this by clicking on the background and at the bottom of Property editor you’ll find the “Layout” section which lets you specify this stuff).
Step 8 Add a style sheet to your widget (right click on the top-most entry in the Object Inspector and select “Change styleSheet…”). Put this style in there for now:
#topFrame {

border: none;

background: qlineargradient(x1: 0, y1: 0, x2: 0, y2: 1,

stop: 0 #a6a6a6, stop: 0.08 #7f7f7f,

stop: 0.39999 #717171, stop: 0.4 #626262,

stop: 0.9 #4c4c4c, stop: 1 #333333);

}
#bottomFrame {

border: none;

background: white;

}
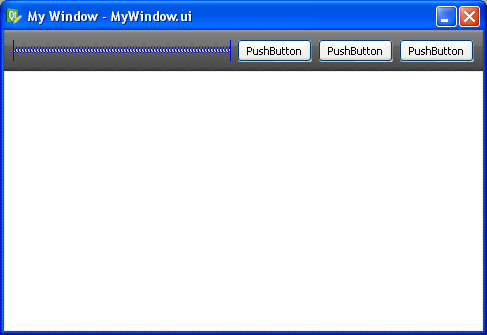
That will give the topFrame a nice modern background that looks like this:
Step 9 Now stylize the buttons. Add this to your stylesheet:
#topFrame QPushButton {

color: #333;

border: 2px solid #555;

border-radius: 11px;

padding: 5px;

background: qradialgradient(cx: 0.3, cy: -0.4,

fx: 0.3, fy: -0.4,

radius: 1.35, stop: 0 #fff, stop: 1 #888);

min-width: 80px;

}
#topFrame QPushButton:hover {
background: qradialgradient(cx: 0.3, cy: -0.4,
fx: 0.3, fy: -0.4,
radius: 1.35, stop: 0 #fff, stop: 1 #bbb);
}
#topFrame QPushButton:pressed {

background: qradialgradient(cx: 0.4, cy: -0.1,

fx: 0.4, fy: -0.1,

radius: 1.35, stop: 0 #fff, stop: 1 #ddd);

}
That style sheet makes the buttons have rounded corners, a nifty radial gradient background, and modern hover and click effects, like this:

Now press Ctrl+R and view the finished product:
Aren’t Qt stylesheets awesome?