今天我们的教程是根据前面一节扩展进行的,如果你没有看,请点击 Android高手进阶教程(三)
查看第三课,这样跟容易方便你的理解!
在xml
文件里定义控件的属性,我们已经习惯了android:attrs=""
,那么我们能不能定义自己的属性能,比如:test:attrs=""
呢?答案是肯定的.
好了我就不卖关子了,直接进入主题。大致以下步骤:
一、
在res/values
文件下定义一个attrs.xml
文件.代码如下:
二、
我们在MyView.java
代码修改如下,其中下面的构造方法是重点,我们获取定义的属性我们R.sytleable.MyView_textColor,
获取方法中后面通常设定默认值(float textSize = a.getDimension(R.styleable.MyView_textSize, 36
);
),
防止我们在xml
文件中没有定义.从而使用默认值!
获取,MyView
就是定义在<declare-styleable name="MyView
"></declare-styleable>
里的
名字,获取里面属性用 名字_ 属性
连接起来就可以.TypedArray
通常最后调用 .recycle()
方法,为了保持以后使用该属性一致性!
MyView.java
全部代码如下:
三、将我们自定义的MyView
加入布局main.xml
文件中,平且使用自定义属性,自定义属性必须加上:
xmlns:test
="http://schemas.android.com/apk/res/com.android.tutor
"蓝色
是自定义属性的前缀,红色
是我们包名.
main.xml
全部代码如下:
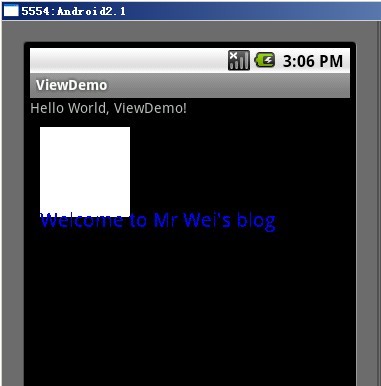
四、运行之效果如下图:
今天就到此结束,大家有什么疑问的,请留言,我会及时答复大家!谢谢~